Manage End Users in Game Warden
This guide walks you through how to provision and manage access for a new team member in the Game Warden app as an End User Admin.
Feature availability
This feature is currently in early access and is not yet available to all customers. Contact your Mission Success Manager for more details.
Provision users to user groups
Prerequisite
- Users must first create a Game Warden account and log in at least once before they can be added to any user groups.
-
Detailed instructions for setting up a Game Warden account are provided below:
- For DoW, see Game Warden Account Setup Guide for DoW Deployments.
- For FedRAMP, see Game Warden Account Setup Guide for FedRAMP Deployments.
- For Commercial, see Game Warden Account Setup Guide for Commercial Deployments.
-
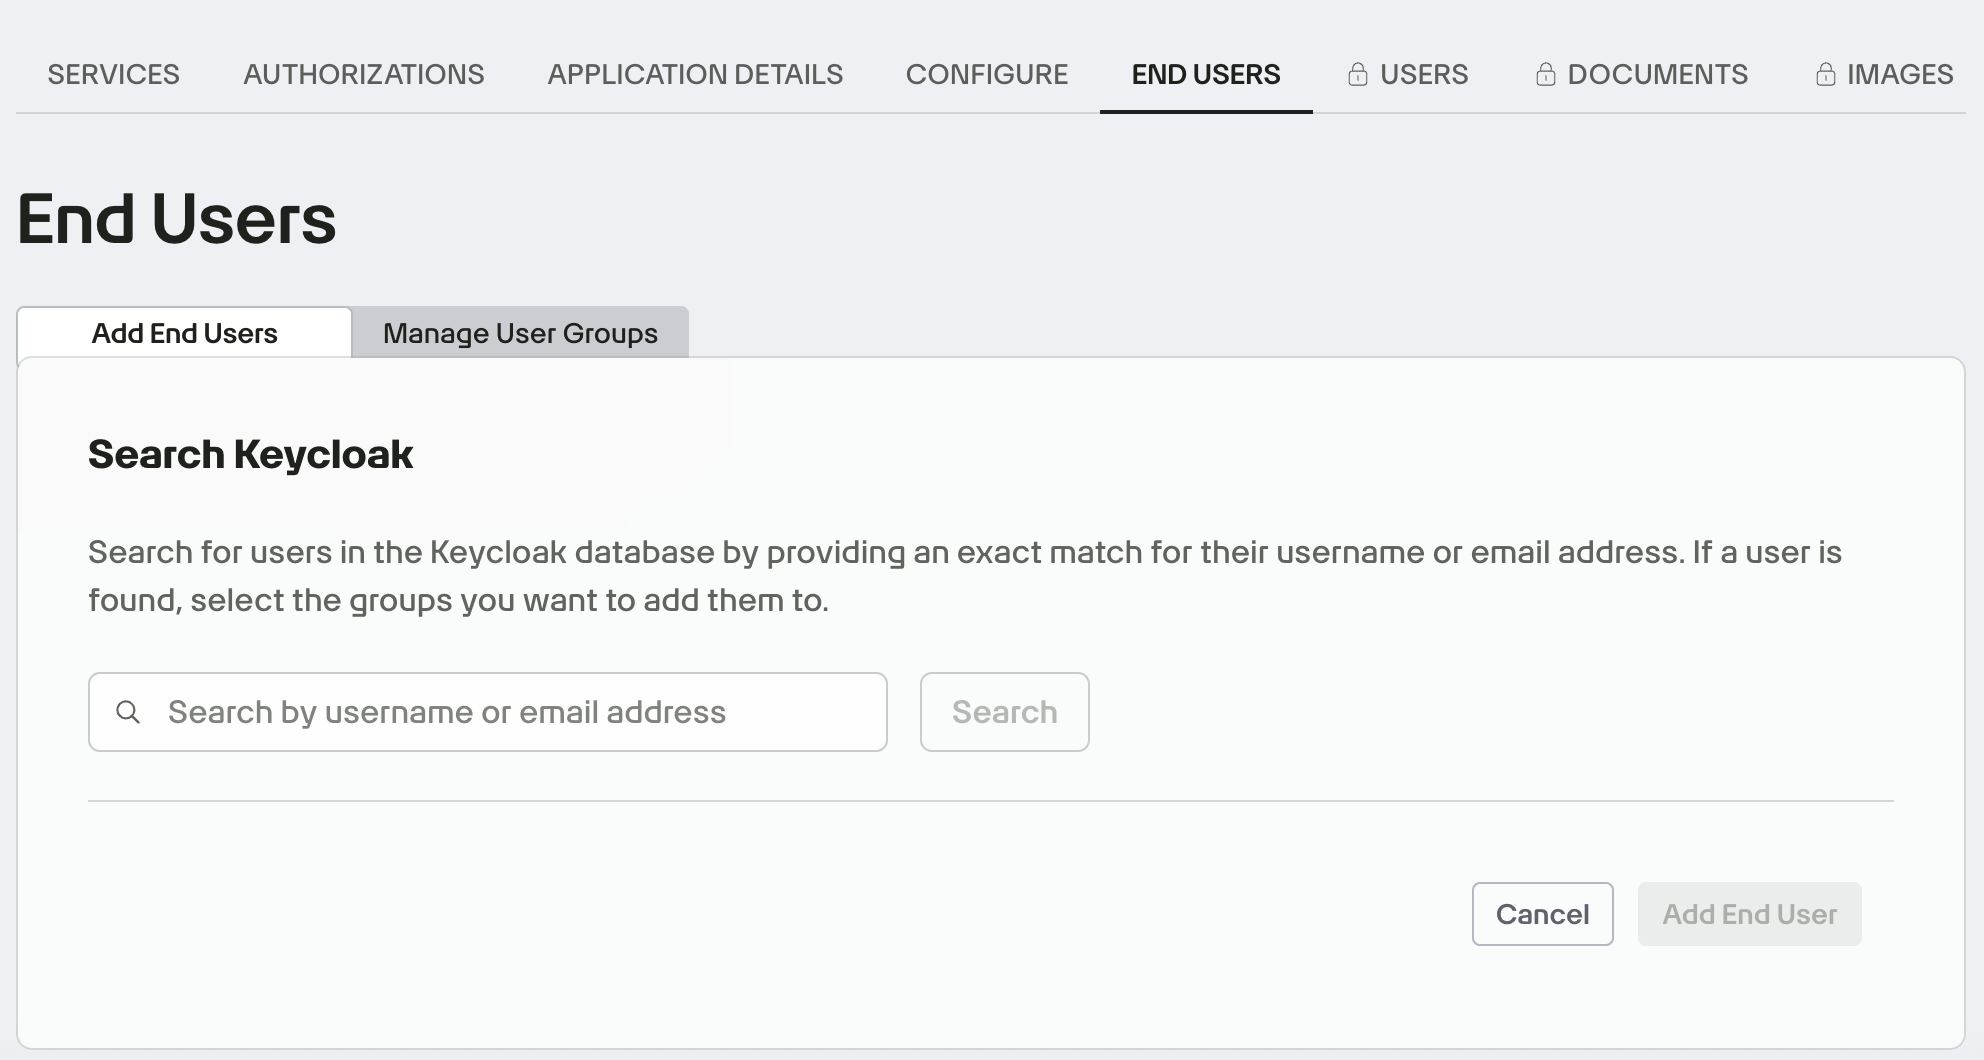
Log in to the Game Warden app with a Manage End User role and navigate to the End Users tab.
-
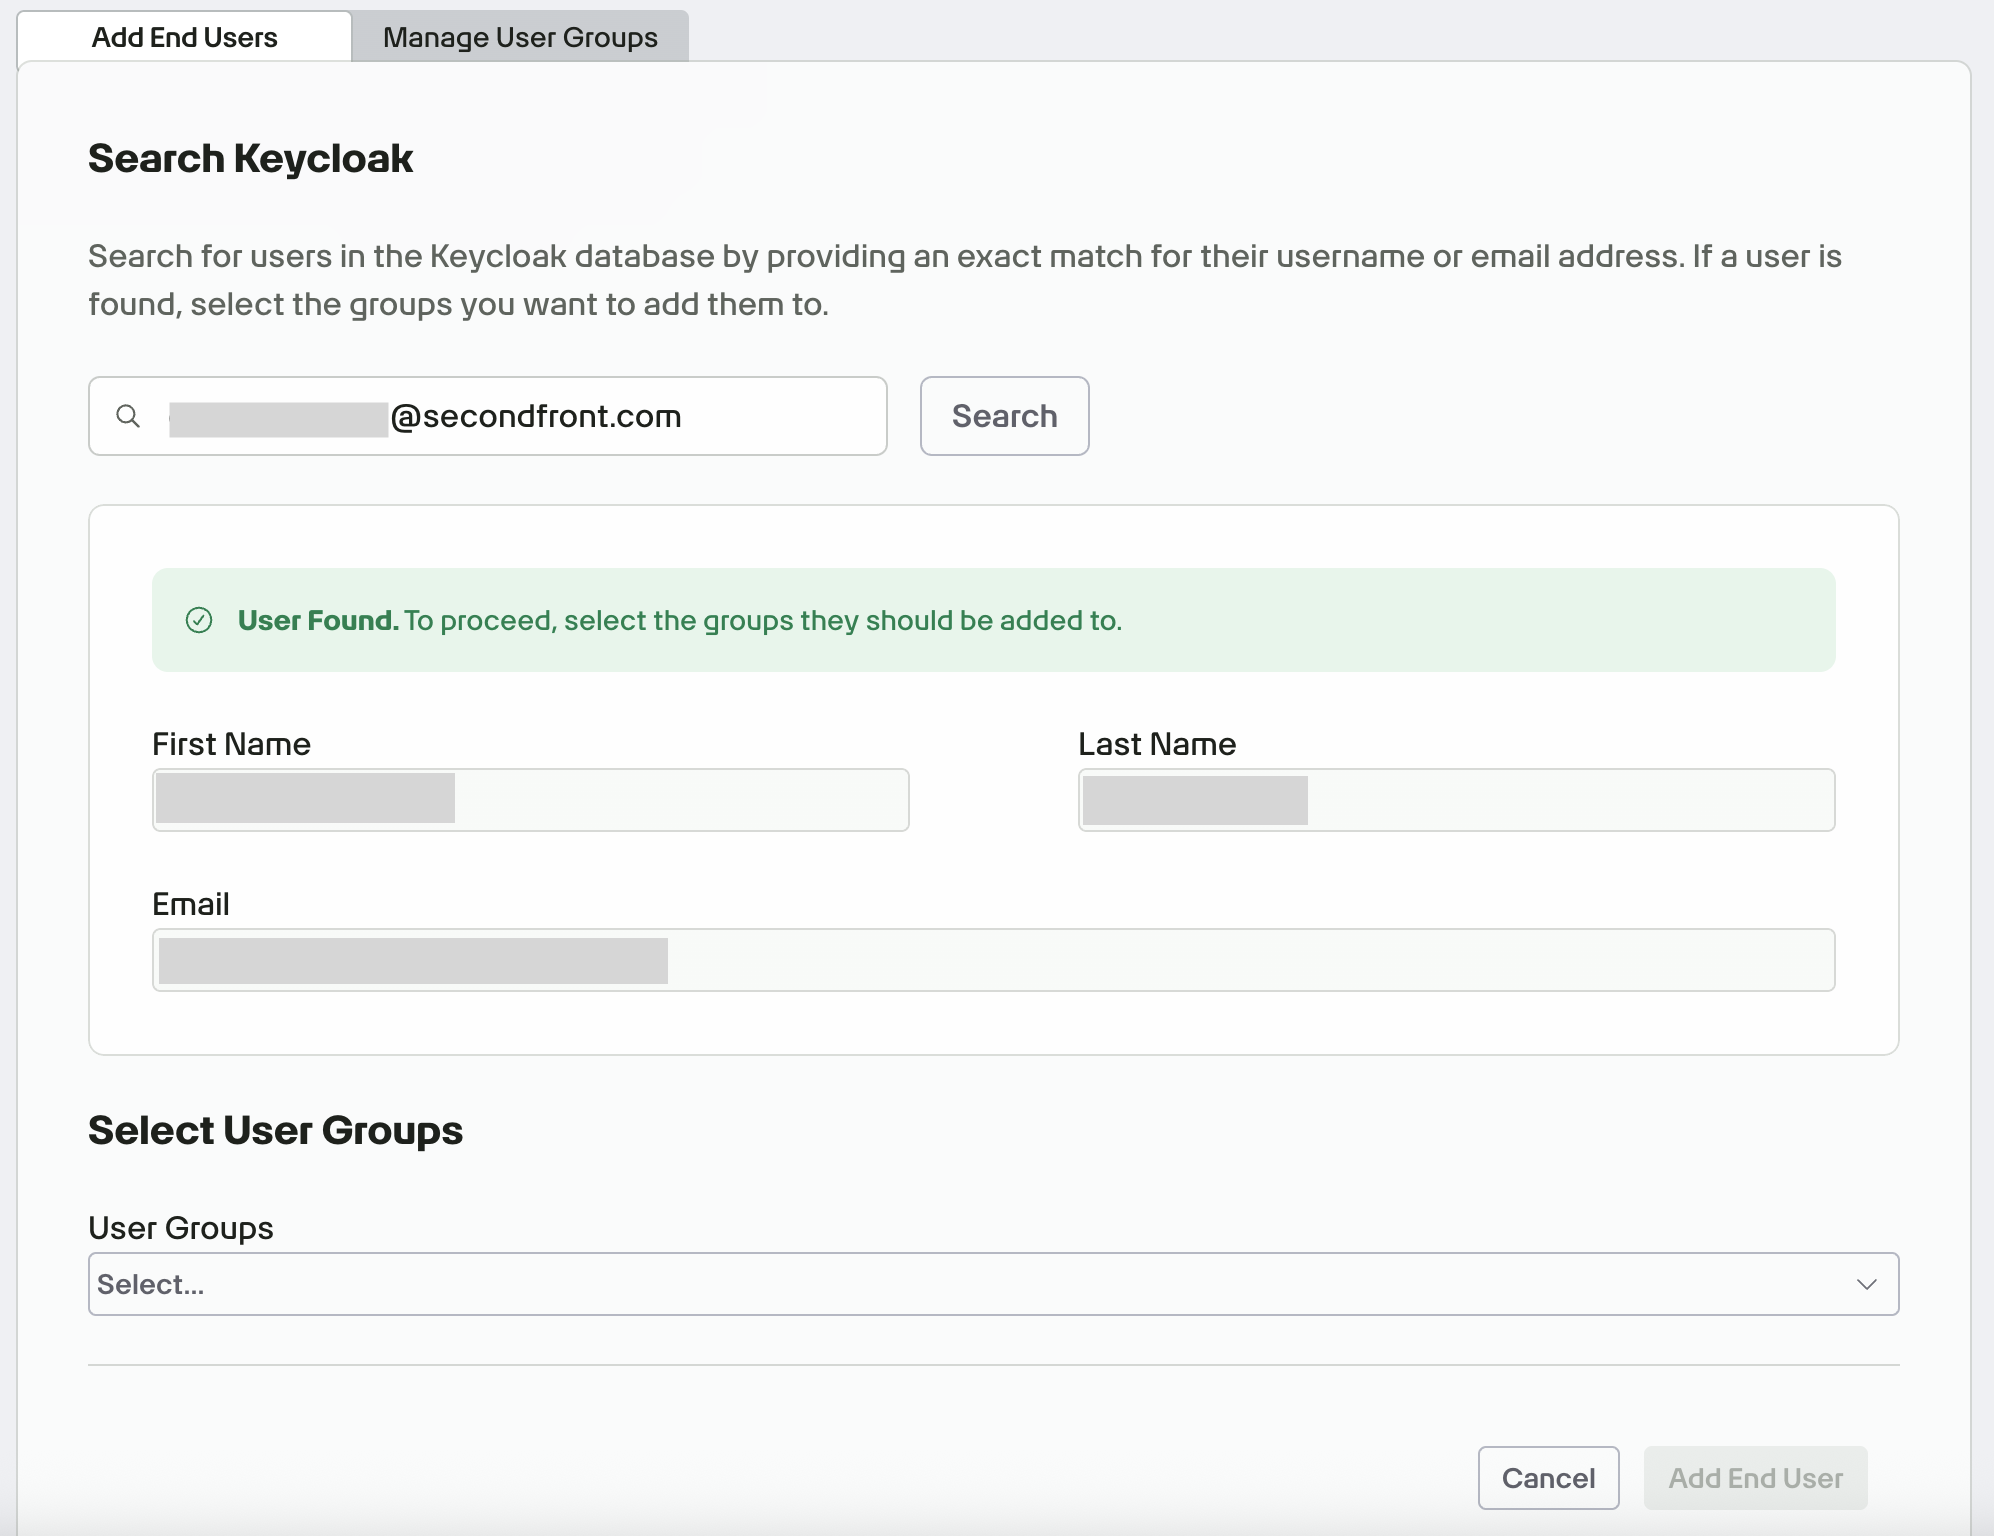
Search for the new user by email address or username.
-
From the User Groups dropdown menu, select the groups the new user should belong to. Each group grants different permissions and access levels based on your company’s configuration.
- Click Add End User to complete the process.
Manage user groups
When creating custom user groups in the Game Warden app, Admins can organize users logically (e.g., data_analysts, qa_team, read_only_users), but these groups do not directly control access to services such as Harbor or Grafana within the Game Warden UI. Instead, these custom group assignments are included as attributes in the headers of authenticated network requests.
Downstream services—such as a developed API instance protected by an internal access proxy—can then inspect these headers to determine access. For example, the proxy might read the groups header and check whether it contains developers or logging_access, and grant dashboard editing privileges only to users in the developers group, while giving read-only access to those in logging_access. This approach gives customers the flexibility to define access control policies directly within their application or middleware, using Game Warden's group assignments as the source of truth.
The following are common tasks related to managing user groups:
To create a new user group in Game Warden:
- Under the Manage User Groups tab, click Create Group.
- Enter a name for the new group and click create.
To create a new sub-group:
- Navigate to the user group, then click the option menu (⋮).
- Select Create Subgroup, and enter a name for the new sub-group.
- Click create.
To remove a user from a group or sub-group:
- Navigate to the desired group or sub-group, then click the option menu (⋮).
- Select View Users to display the list of users in that group or sub-group.
- To remove a user, click the X icon next to their email address.